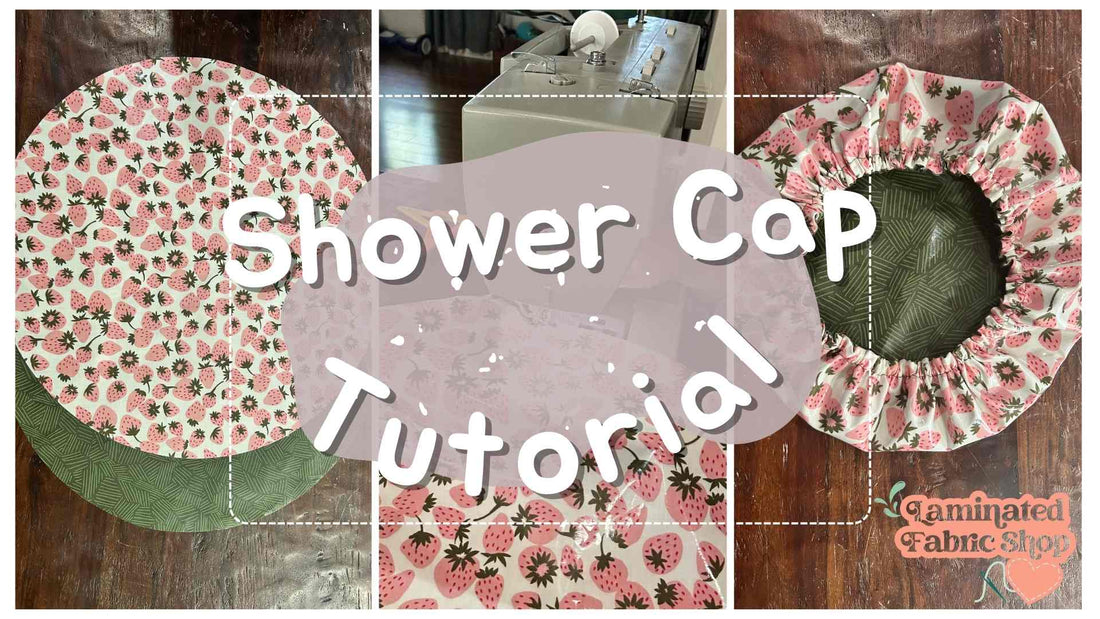

Due to popular demand, we now offer the option to purchase a 20" circle of our laminated fabric just for this project!
Laminated cotton is perfect for this project. Using it as the outside layer of your shower cap gives you a waterproof barrier, keeping your hair nice and dry! We like to use a coordinating satin fabric for the lining, which helps keep your hair smooth. Another great option is a coordinating print in laminated fabric, making the shower cap reversible!
For the purpose of this tutorial, we are going to make our shower cap with two circles of laminated fabric.
Supplies
- 1 - 20" circle of laminated fabric for outside
- 1 - 20" circle of either satin or laminated fabric for lining
- 1/4" flat elastic - 20" long
- 20" piece of 1/4" flat elastic
- iron, ironing board and a scrap of cotton fabric
- safety pin
- clips
- sewing machine with a teflon foot
Find the video instructions on our YouTube channel here: